Tuesday, March 28, 2023

First Steps Restoring the Datsun 510

Now that I've committed to a sympathetic restoration, the first steps are to figure out what exactly I'm working with. So I started by doing a deep wash. I used a pressure washer to get underneath and start seeing what is under 52 years of accumulated road grime. It turns out that the car has lots of good original paint under here and I think a proper cleaning of the suspension and undercarriage will require some steam cleaning. Then I'll know more about the actually condition of the parts. Hopefully, the dirt isn't the glue holding it all together!


She cleans up pretty well, but more to come on that later. 

Next step is to move it inside, get it up on stands, and find out what the brakes and suspension are going to need. Also time to start tearing out the interior.


Again, I'm pleased with how clean things are once I get under it all. I'm going to fully recondition the floors. The black paint under the driver footwell is just surface stuff, seemingly painted to avoid corrosion because there is nothing bad underneath it. I'll plan on sanding it down and returning it to original color (Datsun orange 918 according to the factory paint tag). Now to order carpet jute for lining and a new carpet kit in OEM loop/pile black.

After a long weekend away, I came back to start tearing down the dashboard. the original dash pad is cracked, but the vinyl and plastic parts surrounding gauges and glove back are really nice. After a bit of washing and conditioning, they are looking new! I used PlastX on the plastic gauge covers and used compressed air and dug inside the gauges to remove all the dust and dirt making them look old. 

Now I need to find a way to recondition or replace the dash pad while also looking for an upholstery option to return the seats to their OEM vinyl elegance!


After a little reconditioning...


OK, that's all for now.  Plenty of vendors to contact and find parts.


I picked up this Original Owner 1971 Datsun 510

If it hasn't been obvious from my prior posts, the Datsun brand and particularly the Datsun 510 has been a seminal influence and a key part of my formative years as a car guy. My first car was a Datsun 510, and it is a reminder of my roots in the world of cars and of car racing. It reminds me of that amazing freedom I first discovered at age 16 when I got my driver's license and the world suddenly seemed to open up for me. I've been racing my other BRE-liveried Datsun 510 with a couple different historic racing organizations, so it shouldn't be a surprise that I keep an eye out for interesting Datsuns that come up for sale.  In this case, it was a 1971 Datsun 510 2-door 4-speed car that came up on BringaTrailer.com. I was immediately struck by its defining factor: it was a single owner car since new! I looked at the ad photos and the write up and since the car was local, just about an hour away, I decided to go take a look.

Well, never look at puppies for sale if you don't expect to bring one home. Same thing for me and 510s. I met the original owner, Joe, who gave me plenty of backdrop and stories about the car. He had purchased in in December of 1970 from the Datsun Dealership in Sunnyvale, CA while he was still a student. He had owned it continuously for over 52 years, and in my many years, that is the first time I had come across a Datsun 510 with a single owner history.  So I was intrigued. He bought he car with a loan from Bank of America for a total of 2,125.44, paid in 36 installments of $59.04. Interesting that they din't have to disclose the interest rate on that! Also, car loans were rarely over 3 years in those days because cars didn't last long. Well, here it is 52 years later!

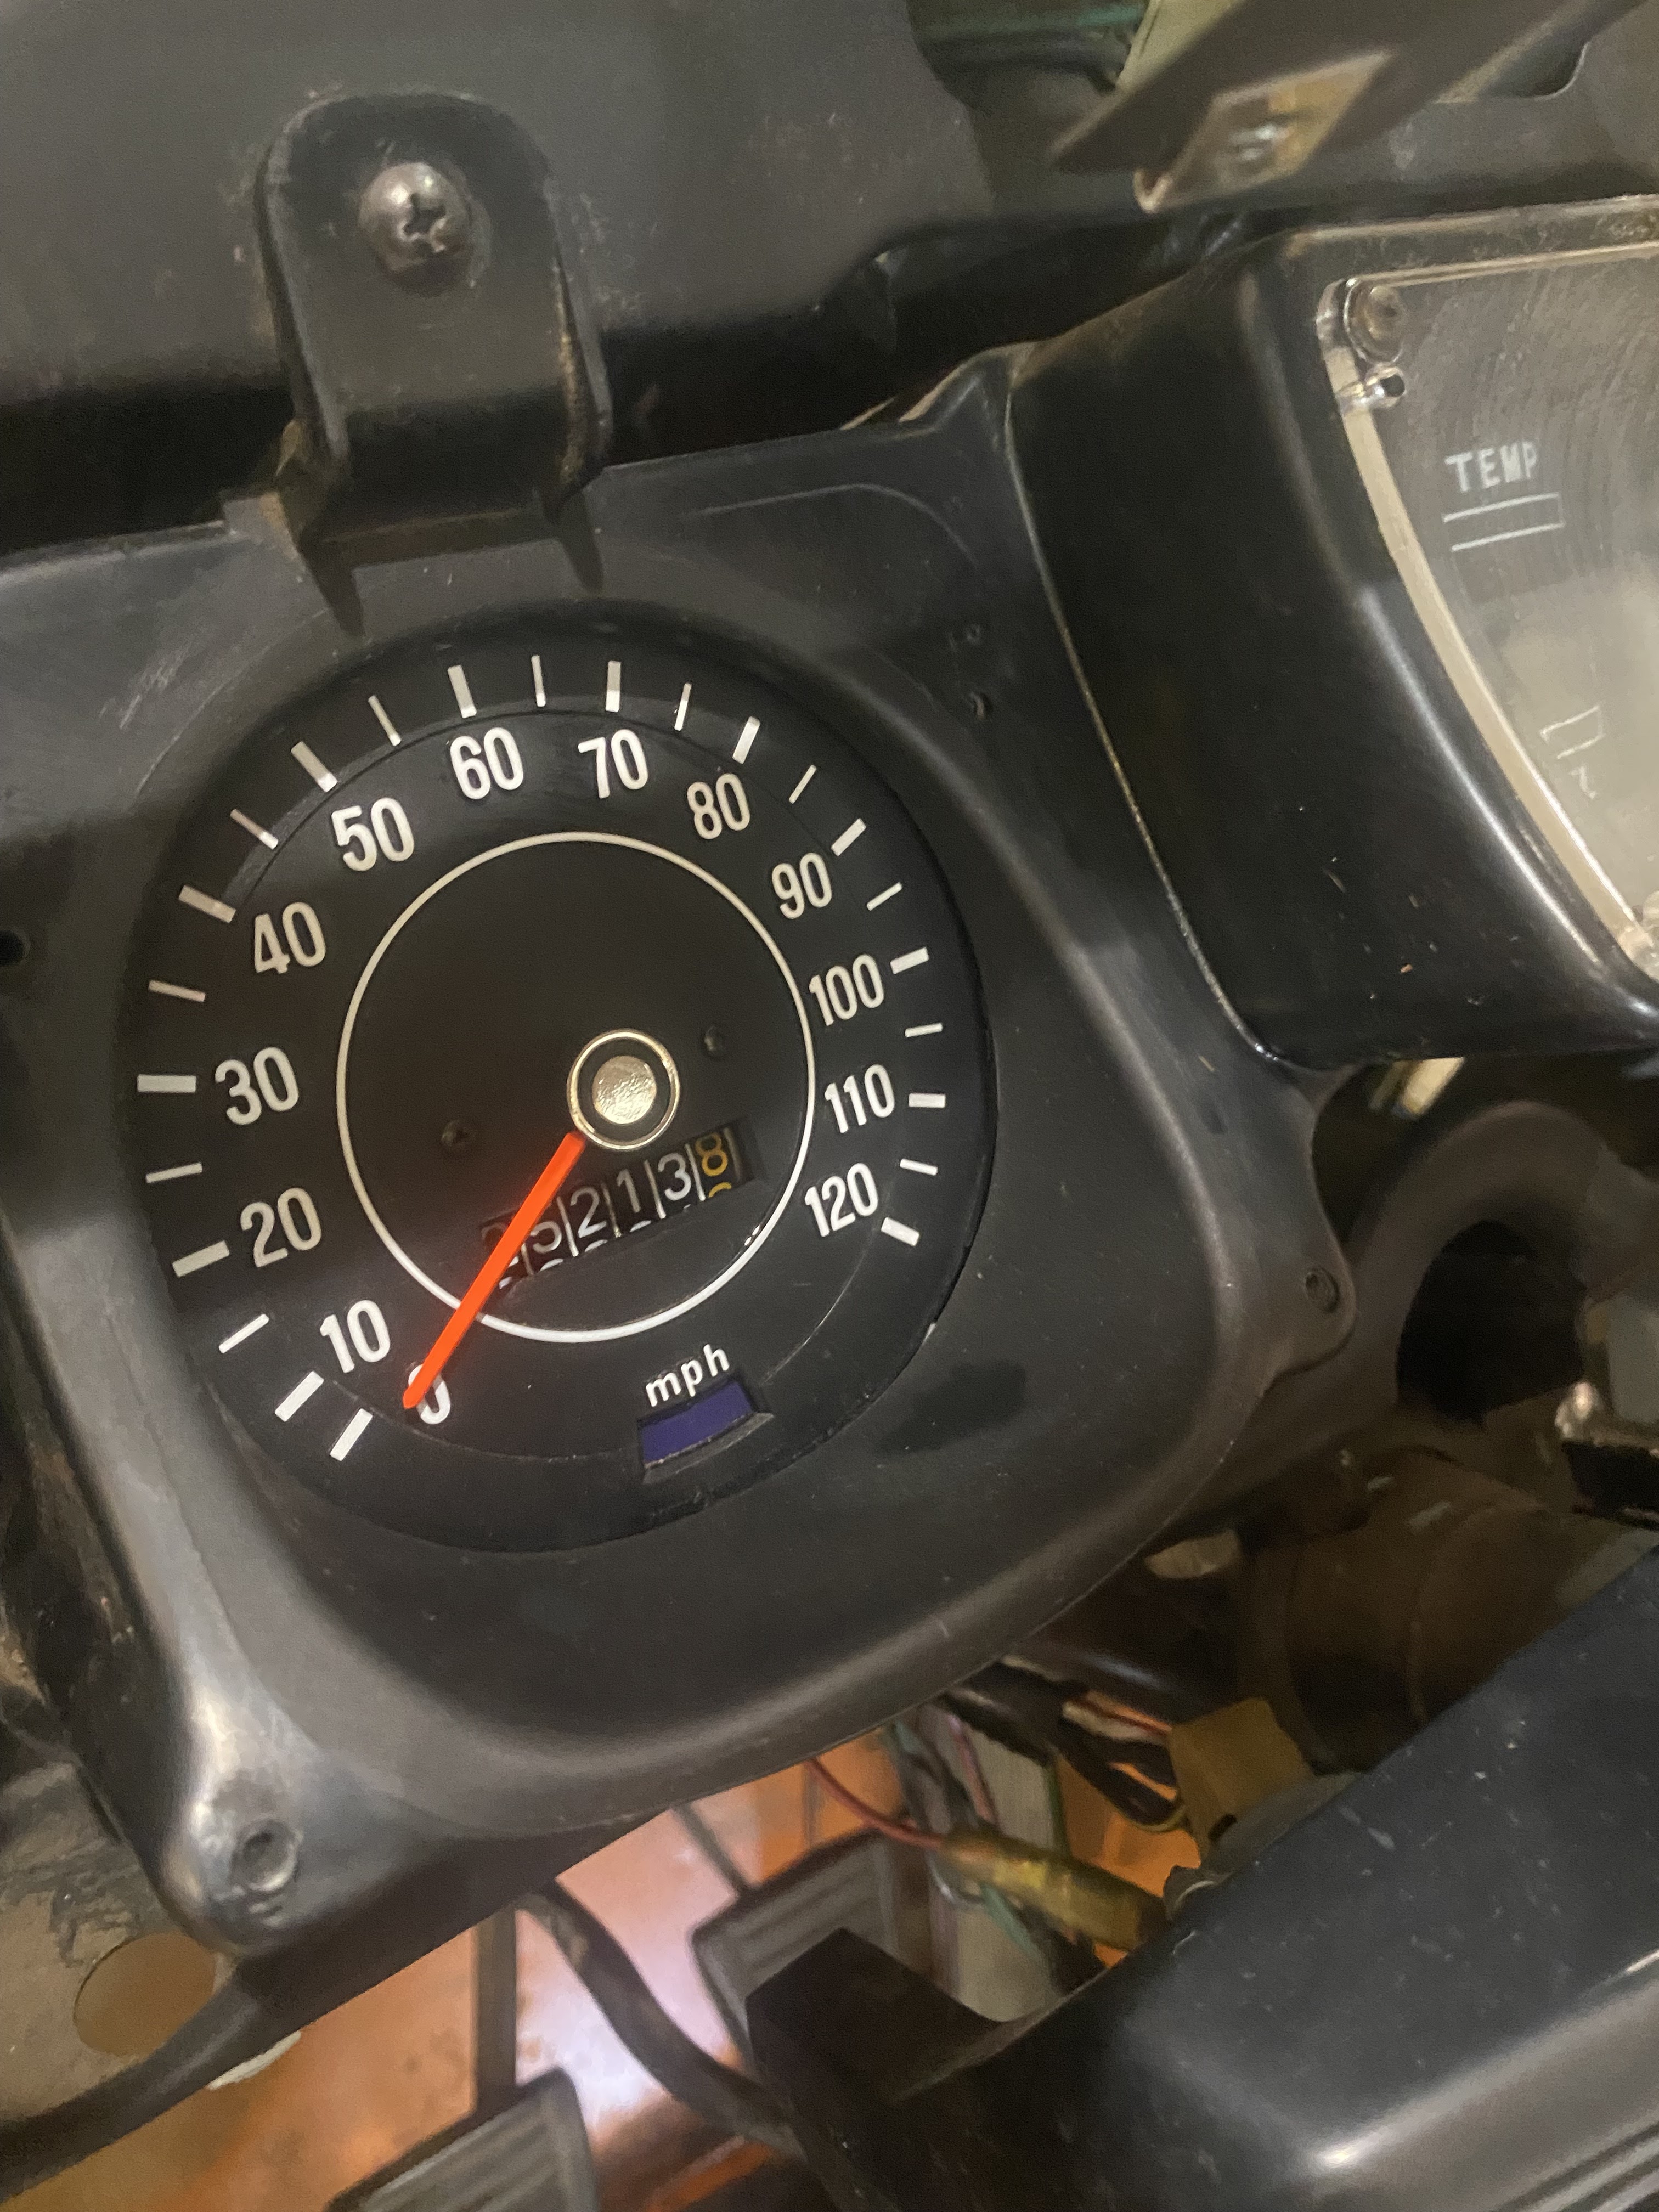
He told me that he had taken his now-wife on their first date in the car, and he now had over 225,000 miles on it. I met he and his mechanic and we talked about what they had done through the years. Although it had been repainted (I kind of wish it was still original paint), Joe had kept the black and white side stripe that was on the car when he bought it. He told me that was a signature of the Sunnyvale Datsun dealership where he bought it... they always painted a stripe on their 510s back in the early 1970s, presumably to add a little sportiness to the boxy little sedan. Keep in mind, in 1971 this might be sitting across the street from a fully pinstriped Camaro Z28 or double-hood-striped Mustang fastback.


The car was a bit dirty, and showed a little rust on one rocker panel that had been painted over (maybe 2-inches square), so I proceeded to look closely at all the floor pans, rocker panels, trunk pan, fender wells, etc. I was pleasantly surprised to find that the one area of corrosion was really the only spot of concern. Under the aftermarket rubber mats and then the musty and faded original old carpets, I found he had the original rubber Datsun mats, which are rarely seen still with these cars. And these original rubber mats were perfect! The dash, gauges, steering wheel and seats were original, also rare to see, as was the headliner. The driver's seat was thrashed from all those years and miles and covered in duct tape and a sheepskin seat cover (so 70s!), but I was happy it was still there. Seats can be recovered and re-stuffed, but finding an original seat in the first place is difficult. Most of these cars have had aftermarket seats or other-manufacturers modern seats installed at some point through multiple owners.


After driving the car, listening to the engine, and talking about its history for quite a while, I decided I would place a bid in the auction which had a few days remaining. To my surprise, nobody upped my bid. Partly because I had placed a strong bid but also because I think most people bidding from a distance couldn't tell that this car was actually in far better shape than its photos may have portrayed.

Here is the auction site and outcome: https://bringatrailer.com/listing/1971-datsun-510-55/

I was pretty excited at the end of the auction and ready to get this car in my garage. My wife was, as always, understanding of my "car problem" and realized this would be a great project for me.  More on my plans in just a bit. But first, it was time to bring a trailer down to pick the car up. No way I was going to trust a 225,000 mile car on the drive home through Bay Area highway craziness. So I met Joe a couple days later and we swapped more stories and congratulated each other. Joe seemed genuinely happy that I was the winning bidder, because he knew that my intent was to honor its tradition and keep it relatively stock. I had told him so when I looked at it. I knew the car would be a great candidate for a "sympathetic restoration". One where I clean everything up, replace any non-stock parts I could, and bring it back close to how it looked when he drove it off the lot in December 1970. Joe handed me the keys and we promised to keep in touch. as I've said before, I like cars because of how they can connect people, and I expect to carry Joe's story along with this car for as long as I am it's steward.


So now it is at home, ready for some love and attention. My plans include a basic light restoration:

  • remove all interior and replace worn carpets, new stock seat upholstery, new dash pad
  • new stock style steering wheel
  • stock air cleaner element
  • stock wheels and skinny white-wall tires
  • new shocks and springs to correct ride height and make it a comfy period-correct ride
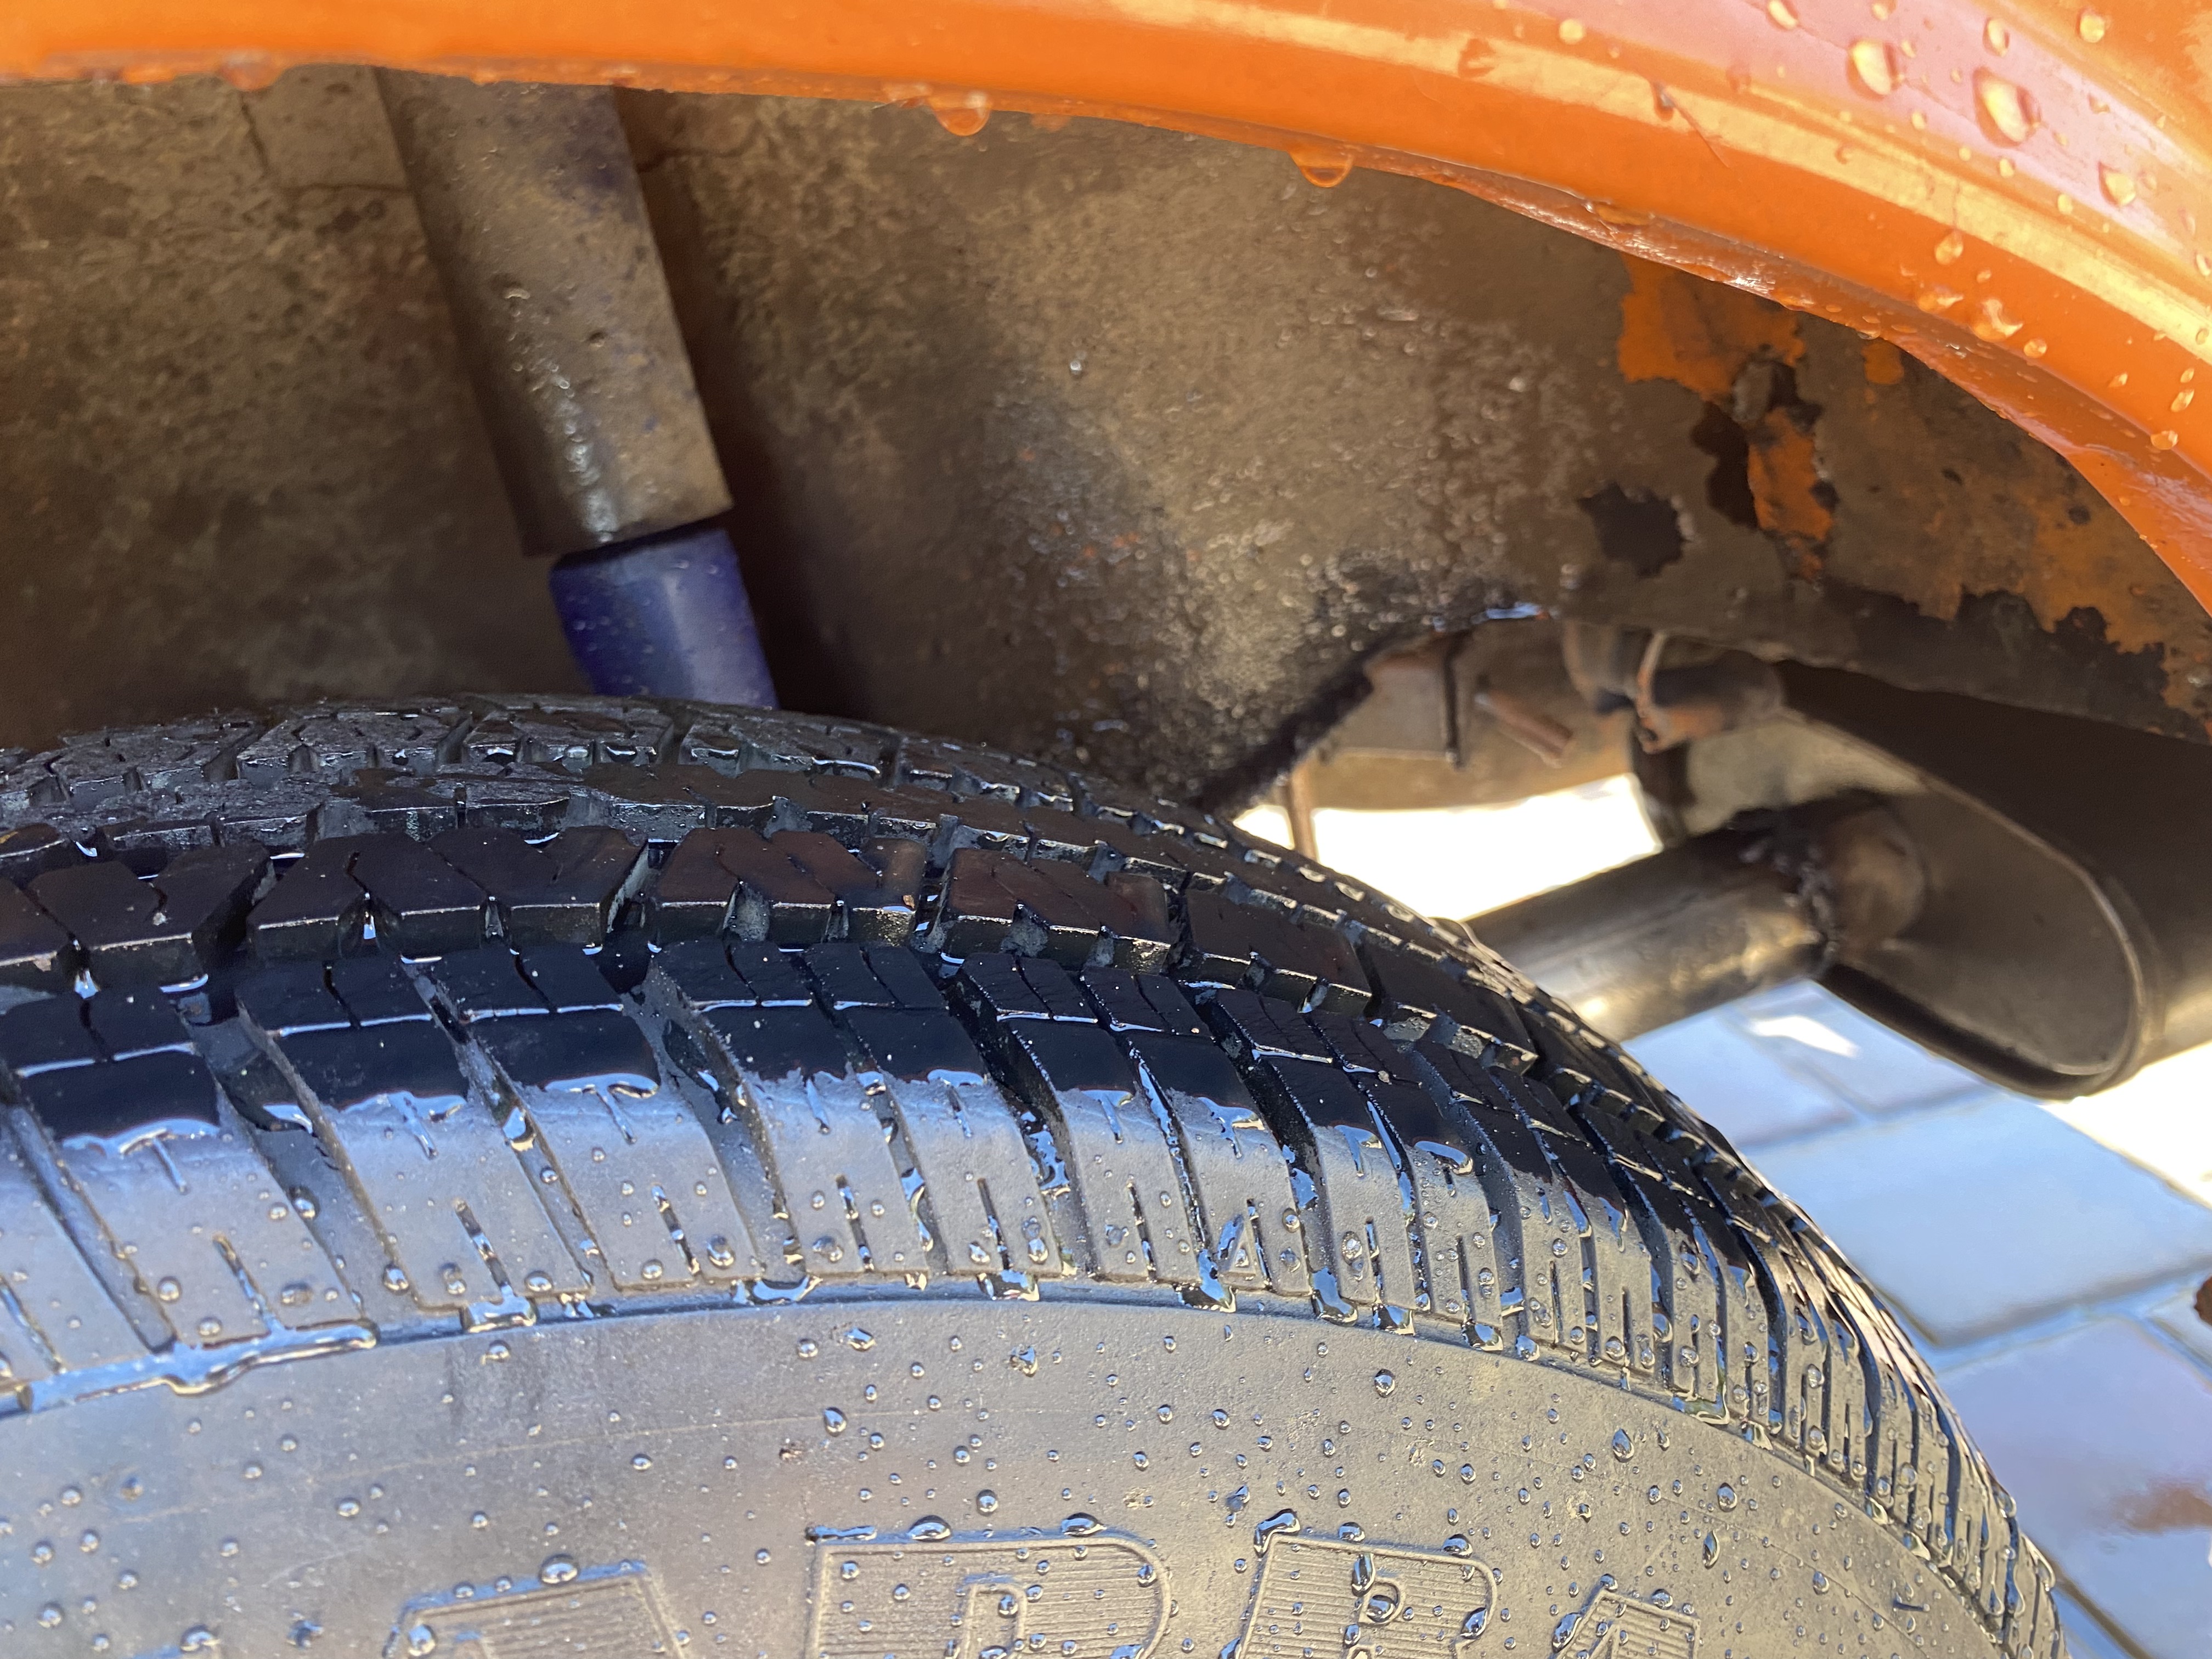
  • clean up all underneath corrosion and 52 years of gunk
  • rust removal and repaint of left rocker panel
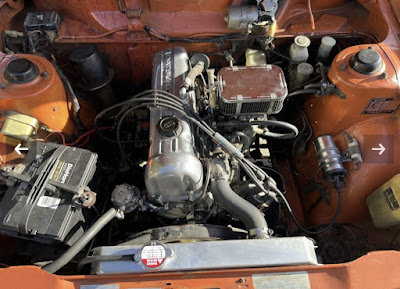
  • clean up engine bay
  • remove non-stock parts (CB radio, extra horns, 3rd brake light, etc)
  • find an EOM side mirror? (unobtanium these days)
  • remove and clean-up engine, new head gasket and likely valve job and evaluate lower-end
  • new brakes and brake lines, all OEM
  • new rubber bits and bushings for suspension
I got her home and recreated the photo from my Mom's lawn in 1979 when I had my first 510. I just didn't park on the lawn this time.


Then I parked her in a place of honor in my garage and started making my plans. I'll update with a new blog post in the next week to show my first tear down and clean-up progress.


Saturday, July 2, 2022

McLaren MP4-12C: DIY brake system overhaul

The McLaren MP4-12C is an amazing driver's vehicle. I've driven my 2012 all over California and loved every second. I've had it on track just a couple times, and it always impresses me. But I took it out for a few laps at Sonoma Raceway one day and I was getting very weird brake response. The brakes were not stopping with full power and were unsettling the car, dancing a bit left and right going into hard brake zones like Turn 7 and Turn 11. And if you've ever gone into Turn 11 at Sonoma at high speed, you know that the last thing you want is to feel unsure about the car's direction or stopping power. There's a pretty ominous wall in front of you as you approach at 120+ MPH.

I cut the day short at the track. Good thing, too. Taking off a wheel when I got home, I could see that the OEM brake rotors were more than a bit worn. More importantly, I could see that the pads had been wearing very unevenly... the top of the pad was thicker than the bottom, which meant the brake calipers were exerting uneven pressure. At least one of the caliper pistons was stuck or hindered.  It was time for a complete brake overhaul. I called the dealership: estimate was $18,000. Holy cow. New brake calipers, new rotors, new pads, full system flush. I decided I could do it myself for well under $4000. The brake calipers were the most expensive part, so I contacted the manufacturer of the OEM calipers (AP Racing), and they said they could rebuild the calipers to factory spec for $160 each. I found that Girodisc makes rotors for the 12C for about $700 per wheel. Plus pads for a reasonable price.  Yup, I could do it all myself for under $4K.

First thing to do was to get the car up on my Quickjack. This required the rail extenders because the jack points are spread fairly wide along the wheelbase. The extender rails for the quick jack also add height to the jack itself (because they are stacked on top of the base rail), so the jack was now too tall to slide under the car.  So, to get the car high enough to slide the jacks under it, I drove it up onto 4 small blocks of 2x4 wood placed forward of each tire. Up she went another 1.5 inches and that allowed the QuickJack to slide under and place the rubber blocks at the proper jack points. I bought all my components but the first thing I needed to get done was to send the calipers to AC Racing via their US partner Essex Parts).


The MP4-12C brakes are pretty easy to work on. First step is to make sure you have turned OFF the electronic parking brake so that when you work on the rears, they won't be in park mode (more on this later). The parking brake automatically engages when you turn off the car. You have to go through steps so that the brake does not come on when you turn off the car. This is key, or you will will not be able to remove the rear rotors (unless you do what I did, which is to hack into the parking brake with a battery and a couple wire leads later.... not easy). 

To remove the brake pads, you simply tap out the two retaining pins using a center punch. They are held in place by the spring clip, so it's easier if you take pressure off them by pushing inward on that flat metal retainer with the down arrow stamped in.


Once you remove the pins, you can use a caliper spreaders (or a large set of pliers and a soft cloth) to spread the pads and compressing the caliper pistons back into the rotor.


You can then gently work out the brake pad wear sensor which is held into its slot with a small pressure clip. Just work it back and forth to remove without breaking it. These can be re-used or can also be replaced, as I chose to do in this case.


With the rotors free of the pads, you an how use the proper Torx bit to remove the rotors.


Then it was time to remove the caliper itself, which is held on by two large bolts into the spindle. You have to disconnect the brake line, so have a catch can for fluid loss.


I removed the front calipers and prepared them to send to AP racing for rebuild. I was about to move to the rear but figured I'd put on the shiny new rotors from Girodisc on the front first. They are slightly larger in diameter (more surface area for heat dissipation) and, depending on your car and application, generally come with a spacer and longer single bolts to accommodate the larger diameter. Already looking better! 


Now it was time to remove the rear rotors and calipers. Ah, but here is where I discovered my parking brake error. The parking brake was fully engaged. I had no way of removing the calipers if the parking brake is engaged.  S&%T. The only way to disengage the parking brake is by first turning the car on (car must be running, not just be in accessory mode). But wait: I have disconnected the front brake lines and there is no pressure in the brake system. Damn. Which means the car will not let me start the engine (brake pedal myst be applied to hit the start button.  No car start, no brake disengage. No good. Hmmm, I called myself a few choice names, most of which I deserved.  Then I started to do some Google searching and I learned that you can zap the rear parking brake piston from a battery to engage and disengage. 


So I removed the battery from another car and hooked it up to a couple wires I had with alligator clips at each end. On the backside of the parking brake caliper I found the small wiring harness that plugs in there. I removed that and saw two leads. Depending on how you hook up your negative and positive leads, the piston in the caliper will engage tighter or it will loosen up. I tested it by hooking the clips to the caliper leads, then hitting a quick tap on the battery terminal.  I heard the electric parking brake make a noise and it presumably moved. The rotor didn't seem to be any looser, so I assumed I may be causing it to tighten. I switched the leads and did a couple test taps again. The rotor appeared to free up a bit so I surmised that I had the correct "direction". I tapped a couple more times lightly and noted my ability to now turn the rotor a bit. I tapped some more an the parking brake fully retracted.  Yay! Crisis averted. Although this little detour added a couple hours and lots of stress and swearing to my brake job. I started to wonder if $18K wasn't such a bad deal?


With the parking brake pad removed I could now remove the rotors, pads and rear calipers (no need to remove the smaller parking brake caliper because it wasn't being rebuilt). I repeated the same process from the front and soon had all four new rotors installed. 


Now it was just a waiting game while I mailed the calipers to AP Racing and waited for them to return. It took a bit, but eventually they came back, beautifully refurbished and ready to go. This alone saved me $9K in not having to buy new calipers from McLaren. AP painted them black again. I had considered a color change but thought I'd keep it stock. I sourced my own decals elsewhere to finalize the look.


Now it was just time to bleed the brakes. I put on my PowerBleeder, drained the old fluid out of the master cylinder with a turkey baster, filled the master back up with Motul 600 brake fluid, and started bleeding away.  Easy stuff if you have a good 11mm box/open/line wrench and a bleeder hose and catch-container.


When it was all done, it felt pretty good! Once I started the car, the brakes came nicely up to pressure after a few brake pumps and I managed not to go flying out the back of the garage with no brakes. Happy car, happy owner.  Ready for adventures again!